As we continue down the CPView rabbit hole, we discover that the CPButton class discussed in the last tutorial about CPButtons has children, and those children are rather useful. From the Cappuccino Project's API documentation, we extract the following inheritance diagram:
 |
| Image Taken From: Cappuccino Project's API Documentation |
Create a New Project
If you have followed some of the other tutorials, you should be comfortable with creating new projects. Create a new application folder for this tutorial. I have called my project CPButtonExtended.
Just like the previous tutorials, we will avoid creating additional object files in order to explore the basic objects. These tutorials are short, and the objects we create are short-lived, so we will work entirely within the AppController.j file.
Starting with More of the Same
We are not going to explore these button types using the same long method that we usually use. Most of the exploration was done in the CPButton tutorial. I do, however, want to demonstrate that these objects are just like all the other CPView objects we have worked with so far, and then we will use the quick and easy method to define our control interfaces to accelerate our development process.
Add the following code to AppController.j after the definition of contentView:
var checkBox = [[CPCheckBox alloc] initWithFrame:CGRectMake(40,80,40,40)];
[contentView addSubview:checkBox];
var radioBox = [[CPRadio alloc] initWithFrame:CGRectMake(80,80,40,40)];
[contentView addSubview:radioBox];
var disclosure = [[CPDisclosureButton alloc] initWithFrame:CGRectMake(120,80,40,40)];
[contentView addSubview:disclosure];
var popUp = [[CPPopUpButton alloc] initWithFrame:CGRectMake(160,80,40,40)];
[contentView addSubview:popUp];
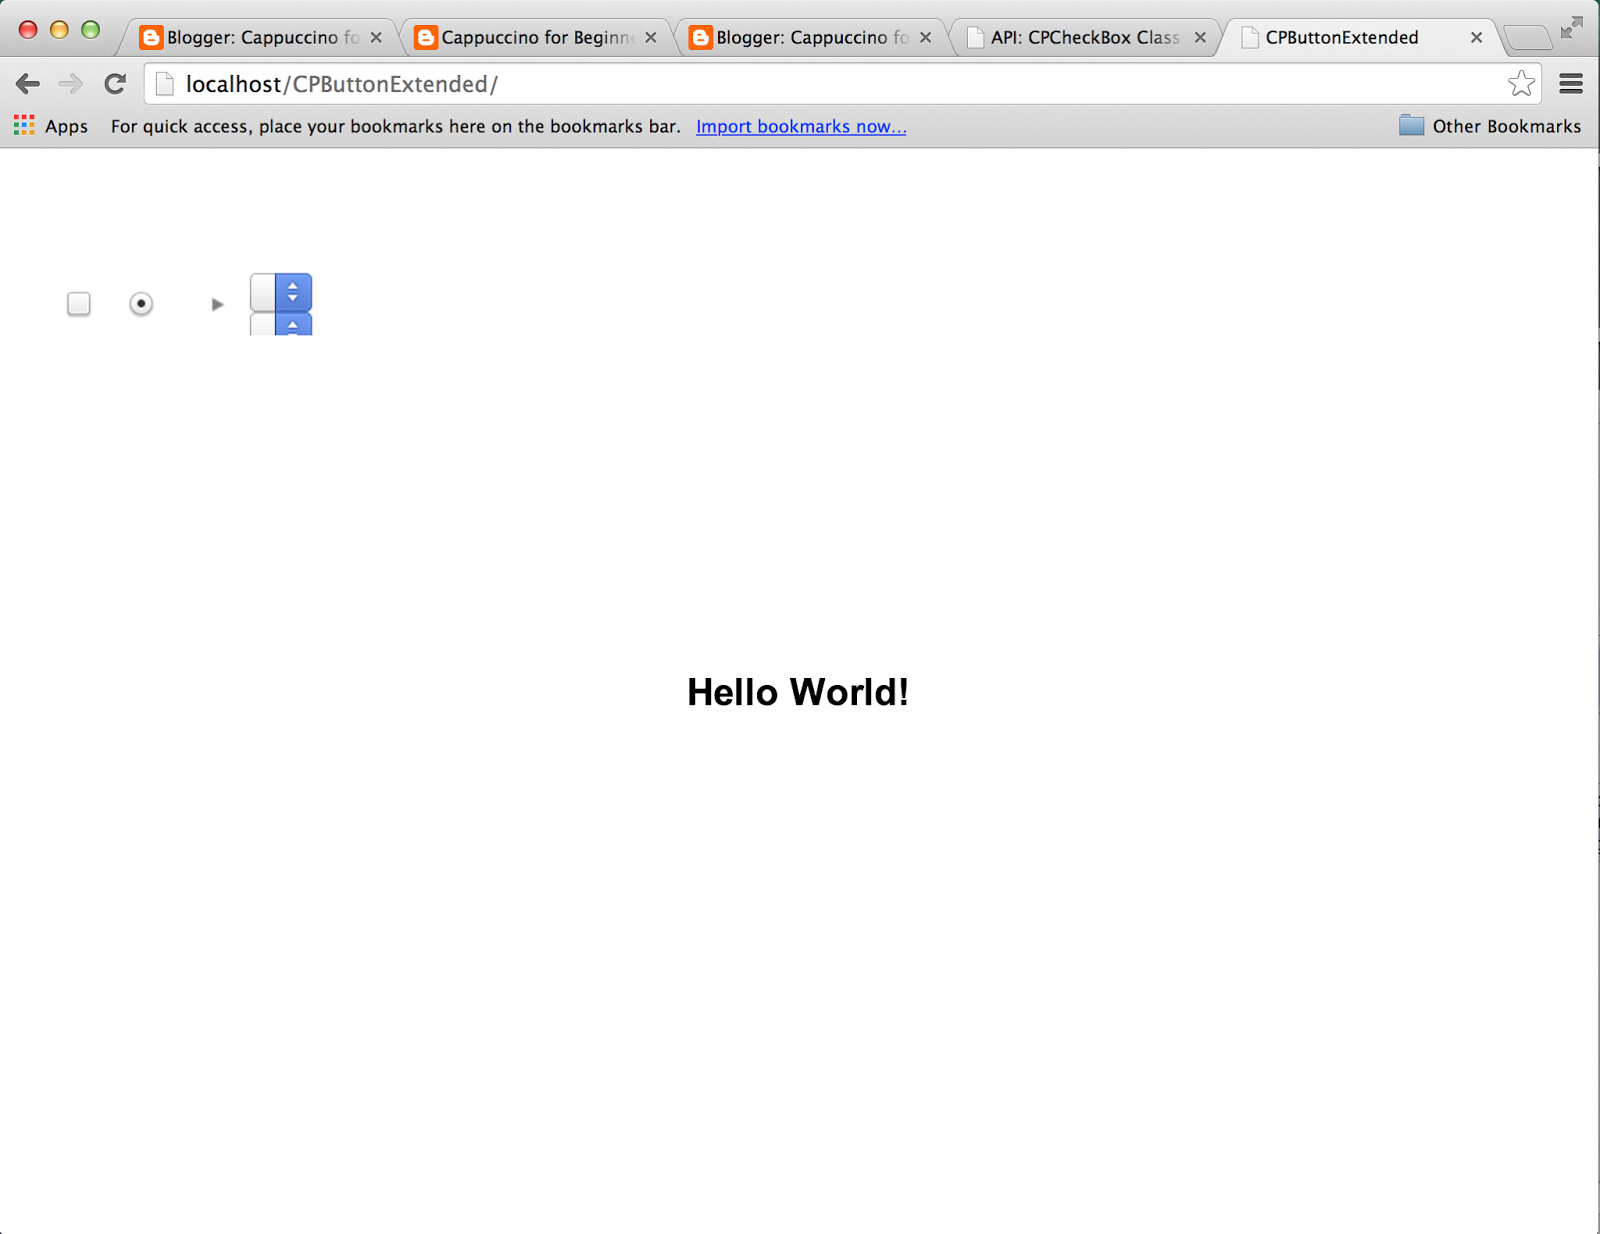
Load your project in the browser:
From left to right, we have a check box, a radio box, a disclosure box and a pop-up box. You may be more familiar with the pop-up box as a combo box or a selection box. The disclosure box seems to be the root of a collapsable tree. We will explore it more later.
We can add text labels and play with the CGRect definitions in order to frame everything correctly, or we can use the quick and easy method to define our objects with the label. Just like the CPButton class added the buttonWithTitle method to make our lives easy, these classes have helper methods. We will use them now. Change the code that we added to the following:
var checkBox = [CPCheckBox checkBoxWithTitle:@"Checkbox"];
[checkBox setFrameOrigin:CPPointMake(40, 40)];
[contentView addSubview:checkBox];
var radioBox = [CPRadio radioWithTitle:@"Radio"];
[radioBox setFrameOrigin:CPPointMake(140, 40)];
[contentView addSubview:radioBox];
var disclosure = [CPDisclosureButton buttonWithTitle:@"Disclosure"];
[disclosure setFrameOrigin:CPPointMake(240,40)];
[contentView addSubview:disclosure];
var popUp = [CPPopUpButton buttonWithTitle:@"PopUp"];
[popUp setFrameOrigin:CPPointMake(340,40)];
[contentView addSubview:popUp];
This produces:
The checkbox and radio objects each had their own class methods unique to their classes. They also had the same buttonWithTitle method which we used on the disclosure box and the pop-up box. We can see from the Disclosure box, by the placement of the arrow image, that this box is not meant to have a title in the same way that other buttons do. Similarly, the pop-up box has class methods, which suggest that this box needs more than just a title to behave properly. We will explore these things as we continue.
From here we will explore the controls separately. We will continue to use the same project folder through these experiments:
- Radio Boxes
- Check Box
- Disclosure Boxes
- Pop-up Boxes


No comments:
Post a Comment